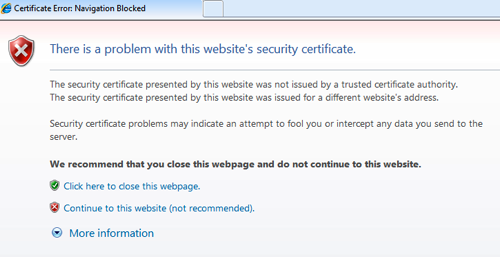
In this post, I wanted to give something directly to the Blue Teams out there. I also thought I would call us out a bit for sending mixed messages to our users. All too often we find internal websites using invalid SSL certificates when we are on an engagement. Almost every user awareness document or training says that you should NEVER use a web site when your browser throws one of these messages at you…
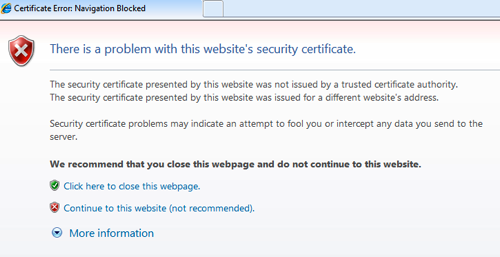
When we talk to our co-workers, we may find ourselves trying to reinforce this message. And then we turn around and undercut that message by setting up internal sites using self-signed certificates. When asked about the certificate warnings on http://helpdesk.myorg.com, we tell everyone to go ahead and continue on to the site. “This site is safe.” The problem is that our colleagues are now trying to guess whether this time the warning message means something or if this is an instance where the site is “safe”.
Why we use self-signed certificates is somewhat understandable. There’s the cost involved with buying certificates for all our internal web sites, plus the hassle of explaining to the Certificate Authorities (CA) that we really do own an internal domain like “myorg.local”, and it takes additional time to get a signed certificate back when we submit the signing request. So instead of dealing with these issues, we generate a certificate and explain to everyone why they are getting certificate warnings. So let’s take a look at how we can avoid the hassle of the CA, still encrypt our data and present a consistent message to our users. We are going to setup an internal SSL certificate authority and configure Active Directory to make our CA a recognized signing authority.
First, let’s build our internal CA. In this example I’m using a fully patched Ubuntu 12.04 server, but any *NIX system that OpenSSL installs on will work. Because this server is going to be storing encryption keys, I highly recommend using things like SSH key authentication, host integrity monitoring applications and and hardening the configuration of the operating system as much as possible. OpenSSL will probably be installed on your server already, but installing it is pretty easy on most platforms. On Debian and Ubuntu systems a simple “sudo apt-get install openssl” will do what you need.
The first step of the CA install is to create the private key. I’m going to assume that we are performing these commands in /etc/ssl, so that our keys are properly isolated. To create the key, run the command “openssl genrsa -des3 -out ca.key 4096“. This syntax tells openssl to generate an RSA private key (genrsa), use the des-ede3-cbc cipher (-des3), write the key out to ca.key (-out ca.key) and use a key size of 4096 bits. You will be prompted for a passphrase to protect the usage of the key, so be prepared with a strong phrase to use. When we are done, we can see our new CA private key listed as ca.key.
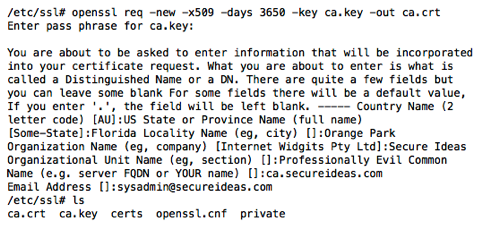
Now, we need to need to create the actual CA certificate. The CA certificate is the public portion of the our certificate authority and is what we will be publishing out to our systems. When you run the command to generate and sign the certificate, you will be prompted for the passphrase that we assigned to ca.key. We will also need to supply information about your country, state/province, city, organization name, organizational unit name and the FQDN of the CA key. So be prepared with this information ahead of signing the certificate.
The command we will run to sign the certificate is “openssl req -new -x509 -days 3650 -key ca.key -out ca.crt”. This syntax tells openssl that we are requesting (req) a new (-new) x509 (-x509) certificate, that we want it to be valid for 10 years (-days 3650), the private key for the CA is ca.key (-key ca.key) and we are writing the certificate out to the file ca.crt (-out ca.crt). An example of this process is shown below.
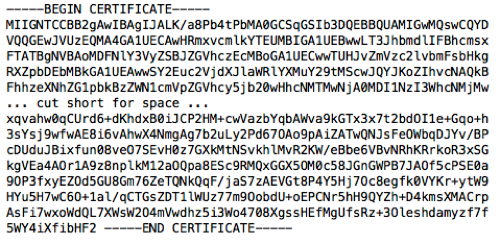
If we view the text in ca.crt, we will see something like the image below.
Simply copy this file up to your Active Directory domain controller and change the extension of the file to .cer instead of .crt. I always open the certificate on the domain controller to make sure that it is still readable and didn’t get corrupted. In this case, we can see that the certificate made it to the DC just fine, that the FQDN of the certificate is ca.secureideas.com and it is good until 6/2/2023.
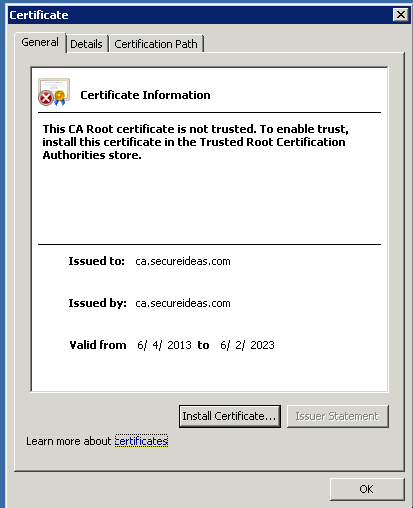
As you can see, the certificate is readable by the sever, but our domain controller still does not trust the certificate yet. To fix that, we will need to edit group policy and set it so that it will replicate to every system in our domain. To do this import, open Start -> Administrative Tools -> Group Policy Management. I’ve already created a GPO called SSL Group Policy and placed it in the root of my domain.
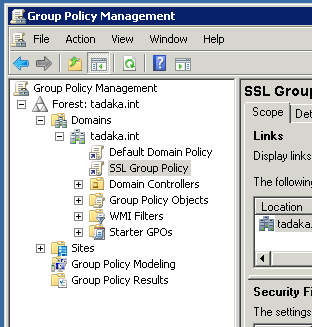
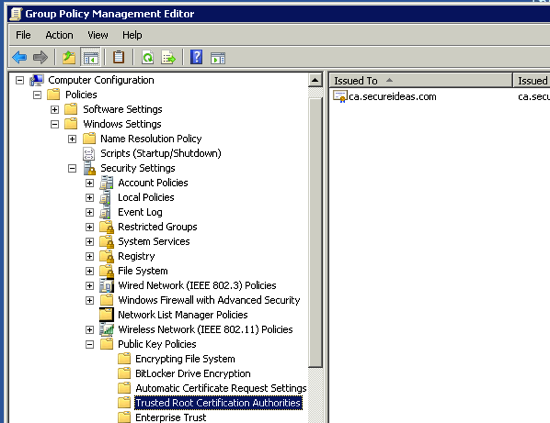
Select your GPO for your SSL certificates and navigate to Action -> Edit. The Group Policy Management Editor will open up and we will need to navigate down to the Trusted Root Certification Authorities section of this policy. The path we will use is Computer Configuration -> Policies -> Windows Settings -> Security Settings -> Public Key Policies -> Trusted Root Certification Authorities. With the Trusted Root Certification Authorities selected, navigate to Action -> Import. An import wizard will open and walk you through the import. We just select the certificate for our internal CA when prompted for the certificate and then complete the wizard. When we are done, we will see the certification in the GPO.
With that done, the certificate should be pushed out via group policy to all the Windows systems in our domain. Double check that this is working by opening the Certificates MMC on your domain controller or another server and navigate to the Trusted Root Certification Authorities -> Certificates container. Make sure that you select the server account when prompted as you are opening up this MMC component. If all goes well, you will see something like the screenshot below.
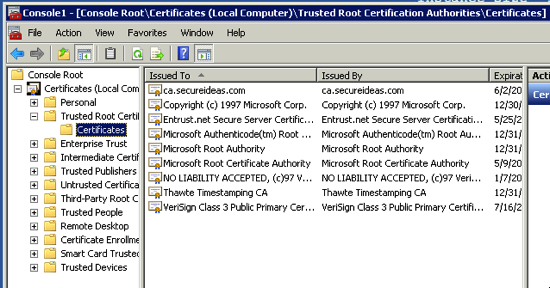
Now any certificate signed by our internal CA will be recognized by all systems that are part of the AD domain. We’ve taken the first major step in getting rid of those browser warning messages and presenting a consistent message to our users. Internet Explorer and Google Chrome will pick up the replicated certificate and not display the warning message. Firefox requires that the CA certificate be authorized inside of Firefox itself. In the future, there will be blog posts on doing the import into Firefox, creating SSL signing requests and signing the actual certificates for use.
